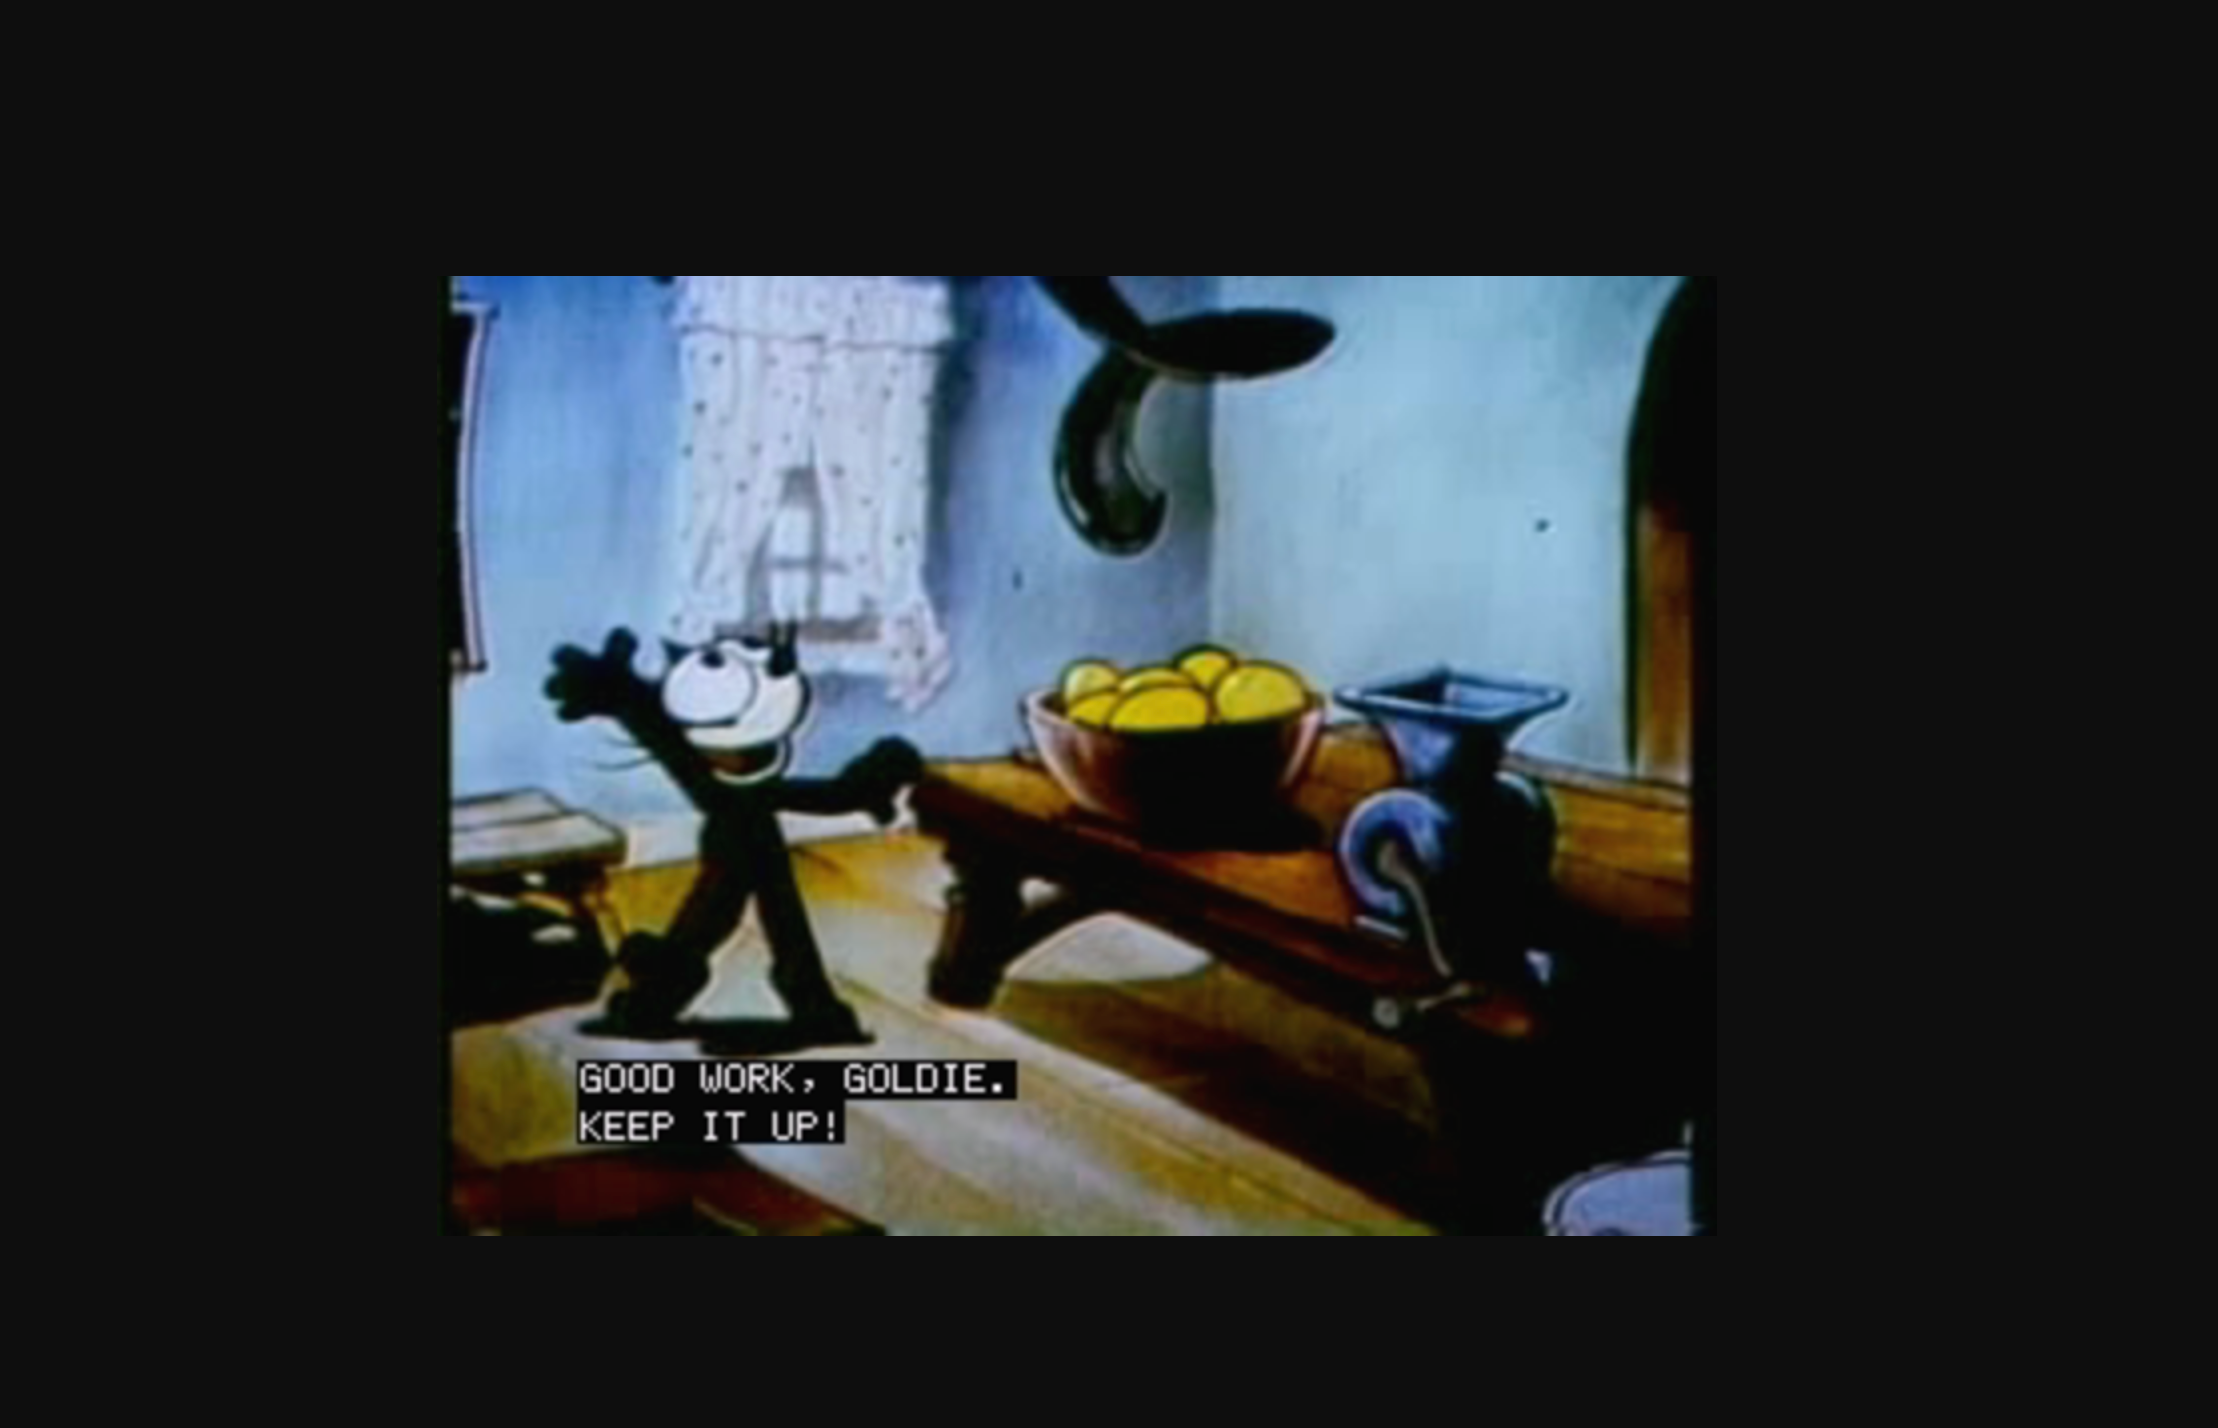
Goal: Add closed captions (CC) to a video without burning them in. This gives the user the ability to toggle CC on and off.
What you’ll need: Descript, Handbrake, and your video in an .mp4 format.
If you already have a caption file in an .srt format, skip down to the Embed captions in video section. If you don’t have a transcript or .srt caption file, continue to the next section.
Create a caption file
Create a new project in Descript and upload your full video (with audio).


Set the transcription language, if needed (mine defaults to English), and Transcribe. Edit the transcribed text in Descript to resolve any transcription errors.
When your transcript is ready, select the “File” drop-down menu, “Export” option, then “Subtitles” from the File export section.

Choose SubRip Titles (.srt) or Video text titles (.vtt) from the “Format” drop-down menu and select the “Export” button.
Important: If you are uploading your video directly into an elearning development tool, verify the required caption file type. Tools such as Articulate Rise require you to load a .vtt caption file with your video, as their video player does not recognize embedded captions and you can stop at this step. If you want to embed captions in your video, select the .srt option and continue to the next section.

Embed captions in video
Open Handbrake and select your .mp4 video from the file browser.

Select the “Subtitles” tab.

In the “Tracks” drop-down, select the “Add external subtitles track..” option. Navigate to your .srt caption file and select the “Open” button.


- Verify that your .srt track appears in the dialogue box.
- Verify that you are saving the file to the desired location on your computer.
- Select the “Start” button at the top of the screen.

Once the video is updated with subtitles, it will download to the selected location. Test your newly subtitled video by opening it in a video player and toggling closed captions on and off. I use QuickTime Player to play the video and ensure the closed caption option is available and functional.

